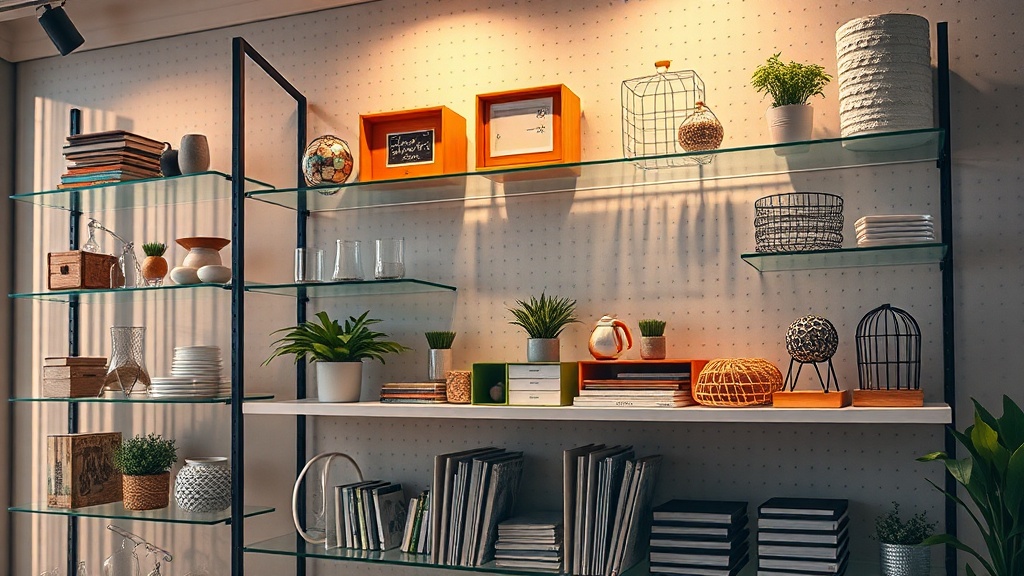
Organizing Your Display Shelves for Maximum Visibility

Most collectors think that more shelves equals a better display, but that's a mistake. A crowded shelf isn't a museum; it's a storage unit. If you can't see the fine paint applications on a S.H. Figuarts figure because a larger Hot Toys statue is blocking the view, your display has failed. This post breaks down the logic of shelf organization, focusing on sightlines, lighting, and depth to ensure every piece in your collection gets the attention it deserves.
How Do I Arrange Figures by Height and Size?
Arrange your tallest items in the back and your smallest items in the front to create a tiered effect. This technique, often called "stadium seating" for toys, ensures that a 1/6 scale figure doesn't swallow up your smaller 1/12 scale articulated figures. If you just line them up in a single row, the ones in the front will look tiny and insignificant.
The trick is to use risers. You can use acrylic stands or even simple wooden blocks to lift smaller items. This isn't just about aesthetics—it's about visibility. When you're looking at a collection of Funko Pops, for instance, a flat line of boxes makes the back rows almost invisible. By using a tiered approach, you create layers of depth.
Here is a basic hierarchy you can follow for a standard shelf setup:
- The Back Row: Place your largest pieces here. Think 1/4 scale statues or large mecha-style figures like a Gundam model kit. These act as the "anchor" for the shelf.
- The Middle Row: This is where your standard 6-inch or 7-inch figures live. They are large enough to be seen but won't block the view of the back.
- The Front Row: Use this space for your smallest, most detailed pieces or "hero" items. This is where you put the pieces you want people to notice first.
One thing to watch out for is weight distribution. If you put all your heavy resin statues on a single shelf, you might cause the shelf to bow over time. Check the weight capacity of your shelving unit before you start loading it up with heavy Sideshow Collectibles. It's much better to be safe than to end up with a broken shelf and a crushed figure.
What Is the Best Way to Use Lighting for Visibility?
Use indirect LED lighting to illuminate your figures without creating harsh glares or hotspots. Direct light often hits the plastic or resin surfaces of a figure and creates a blinding white spot that hides the detail. You want a soft, even glow that wraps around the figure.
If you're using an IKEA Billy bookcase or a similar display unit, you've probably noticed how hard it is to get light into the bottom corners. Standard overhead lights are often too far away. Instead, look for LED strips that can be tucked under the lip of a shelf. This provides "down-lighting" that mimics a professional gallery look.
A few tips for lighting your collection:
- Avoid Heat: Traditional incandescent bulbs get hot. This heat can warp plastic or even damage the paint on certain vinyl figures. Stick to LEDs.
- Color Temperature: Cool white light makes things look modern and clinical, while warm light feels more "classic." If you have a lot of metallic figures, a slightly cooler light can make the paint pop.
- Diffusion: If your light is too bright, use a frosted diffuser. This softens the light and prevents that annoying glare on acrylic cases.
Speaking of light, don't forget that UV rays are the enemy of any serious collector. If your shelves are near a window, you need to be careful. You might want to look into UV-resistant cases to protect your figures from long-term damage. Sunlight can fade even the most vibrant paint jobs in a matter of months.
How Much Space Should I Leave Between Figures?
Leave at least one to two inches of "breathing room" between individual figures to prevent a cluttered look and allow for easy handling. If you pack them in like sardines, you'll inevitably bump into one when you're trying to move another. This is a recipe for broken limbs or chipped paint.
Think of your shelf like a gallery, not a warehouse. Each piece should have its own "personal space." This is especially true if you have highly articulated figures like Marvel Legends or Star Wars Black Series. You'll want to move their arms and legs occasionally to change their poses, and if they are too close to their neighbors, you'll constantly be knocking things over.
| Display Style | Best For | Pros | Cons |
|---|---|---|---|
| Dense/Packed | Mass-market collectibles | Shows off volume | Hard to see details; high risk of damage |
| Tiered/Layered | Mixed scale collections | Excellent visibility | Requires risers and planning |
| Minimalist | High-end statues | Maximum impact | Doesn't show off a large collection |
If you're a collector who loves to constantly swap out figures, a slightly more spaced-out layout is much more forgiving. It allows you to pull a single figure out for a photo or a closer look without disturbing the entire ecosystem of the shelf. It's a small investment in time now that saves a lot of frustration later.
When you're setting up your space, remember that the goal is to enjoy what you own. If your shelves are so packed that you can't even see the characters you've spent hundreds of dollars on, you've over-collected the space. Sometimes, moving a few pieces to a different shelf or a dedicated acrylic case can completely change the energy of your room.
Don't be afraid to be picky about what stays on display. You don't have to show everything at once. Rotating your collection is a great way to keep things feeling fresh. It's like having a new collection every month without spending a dime. Just make sure you have a safe, dust-free place to store the pieces that are "off-duty."
The way you organize your shelves is a reflection of how you value your collection. Whether you're a minimalist or a maximalist, the focus should always be on the details. A well-organized shelf doesn't just hold toys—it showcases art. Take the time to get the heights, the lights, and the spacing right, and your collection will look a thousand times better.
Steps
- 1
Group by Height and Scale
- 2
Implement Tiered Risers
- 3
Create Depth with Background Layers
- 4
Manage Lighting Angles